– and how you can create your own NFT today, for free –
If you haven’t been living under a rock with no internet access this past year, you’ve probably heard at least a few times the word NFT or Non-Fungible Token.
Maybe when digital artist Beeple sold a token associated to a digital collage of 5,000 images that he created, for the impressive amount of $69,346,250 through the prominent auction house Christie’s.
Or maybe when someone decided to pay a modest $390,000 for a 50 second video by Grimes. Probably an enthusiastic fan.
And although Jack Dorsey, the former CEO of Twitter managed to sell an NFT of his very first tweet for the staggering amount of $2.5 mil, the question that remains is – what are you exactly buying?
Is it an art object? A JPEG? A link? An autograph? The jury is still out… All we know so far is that NFT stands for Non-Fungible Token. In the simplest example, you can exchange one dollar bill for another dollar bill, with no worries that there can be a difference in value between the two. This makes dollar bills fungible. On the opposite end, non-fungible assets are unique and cannot be traded or exchanged at equivalency.
Meanwhile, let’s see how we created our first RomSoft NFT for our 20-year anniversary, how hard it really was to create it, and how you can create one today, for free.
About our NFT
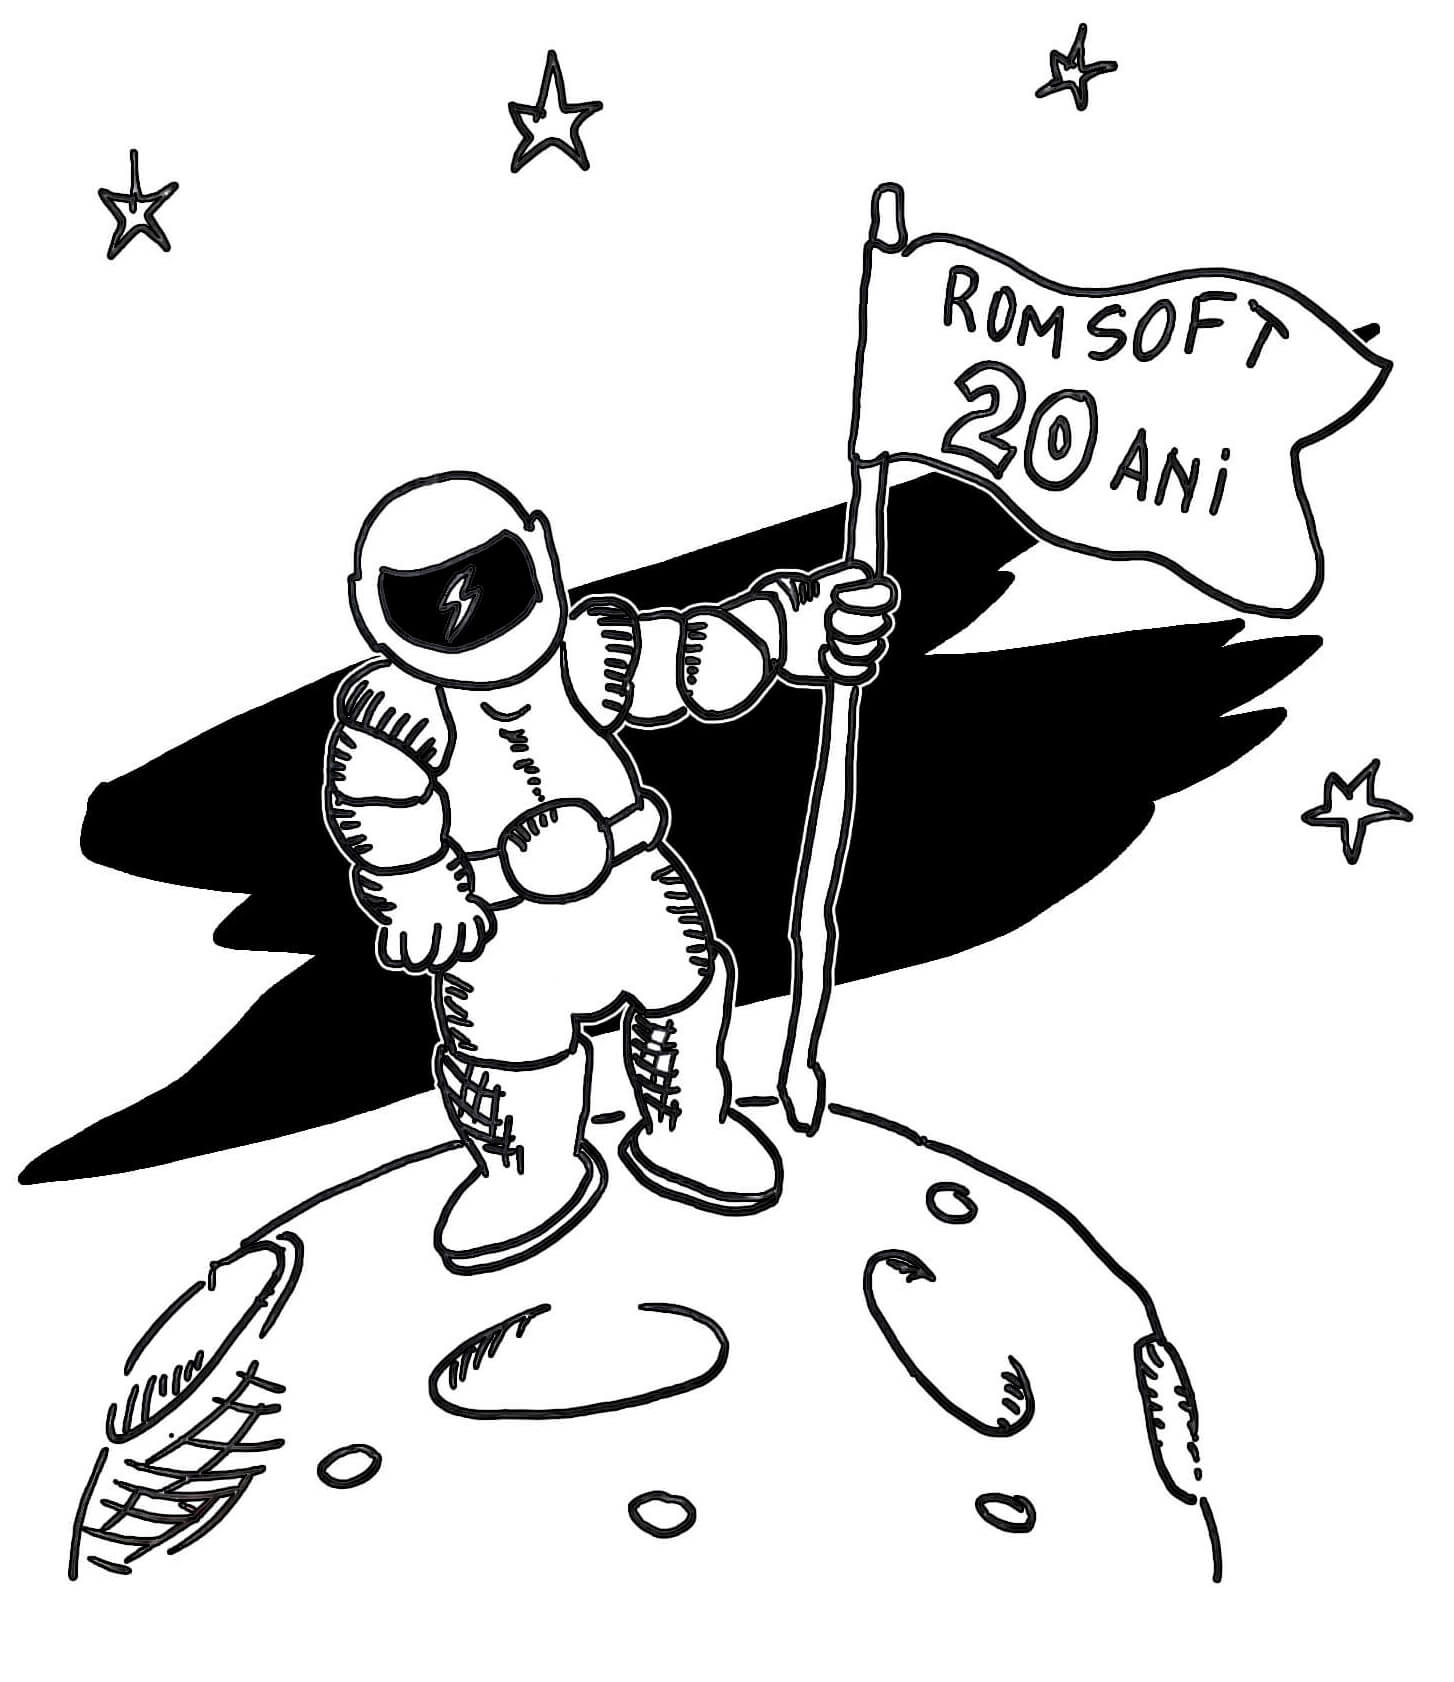
The piece of art that we decided to turn into an NFT is a drawing made by our former teammate Catalin Sandu.
15 years ago, when he was part of the RomSoft team, he used to often draw birthday cards for us, or even some adverts that we ran in local magazines. Sadly, the majority of those are now lost forever. Even if we digitized them at the time, they are probably buried on some old computer drive.
When we recently reconnected with Catalin, he confessed that in the meantime he switched hobbies, from cartoon drawing to professional photography, but he still wanted to send us an anniversary card, together with his best wishes for our 20 years anniversary, that you can read in our recently launched eBook.
Here it is:
We wanted this one to last forever, so we took the opportunity to turn it into our very first RomSoft NFT.
If you’re curious, here is a short tutorial on how to do that. You can follow the 8 steps that are detailed below in order to create your own NFT.
1. Install MetaMask
The first step is to download MetaMask, an add-in that works with the Chrome browser. After you’ve installed it, press the Get Started button.
2. Create your crypto wallet
After MetaMask is installed, you will be guided to create a crypto wallet, if you don’t already have one:
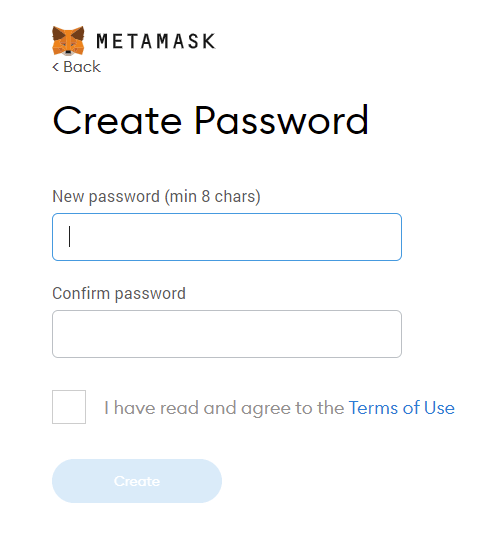
You are next prompted to provide a password for the local wallet:
This step is a bit tricky, as I recommend you choose a password that is as complicated as can be: mix in some letters, both caps and no caps, digits and special characters. The more complex, the better. The best way is to write it down in a txt file, save it somewhere safe and then copy it in the password field.
Why it’s tricky? Because once you press the Create button, you can never go back to change/recover this password.
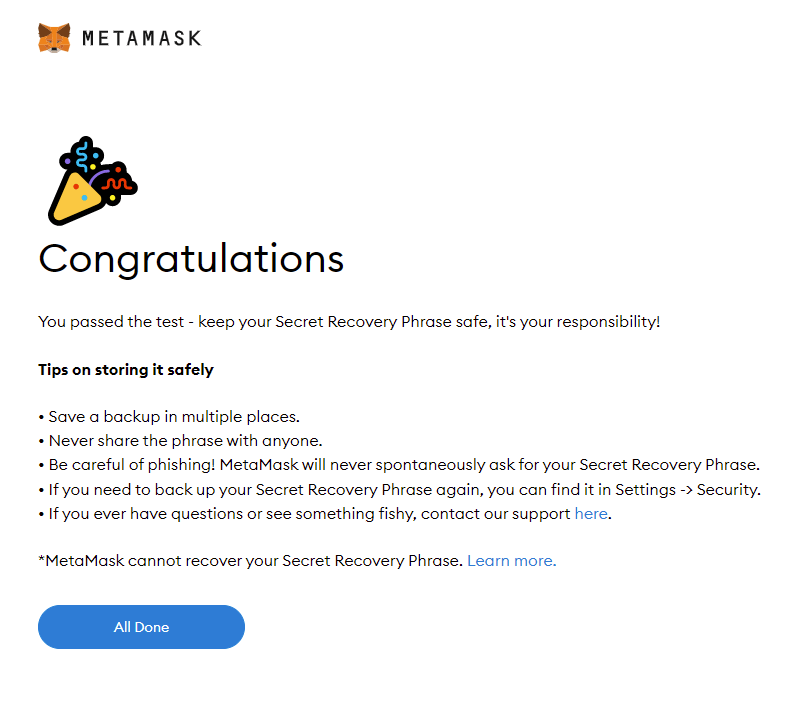
After you’ve set up your password, you’re kindly invited by the wallet setup wizard to watch a short video about the Secret Recovery Phrase, and I recommend you do so, because this is the unique key to access and control your wallet. It can never be changed and if you lose it you lose access to your account and all assets that you store in it.
The secret recovery phrase is a series of 12 order sensitive words that are generated when you set up your wallet and can never be recovered by MetaMask.
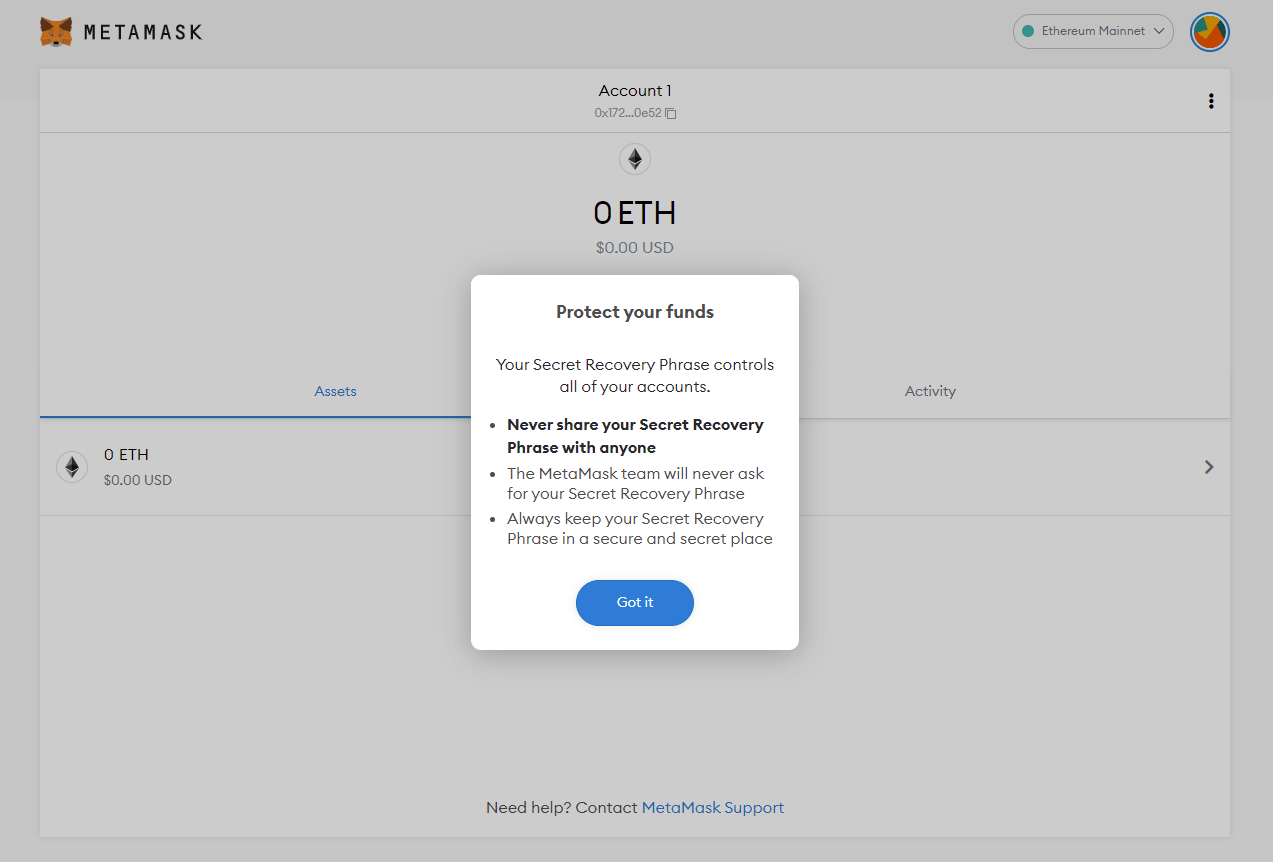
Once these steps completed, you are taken to your wallet. The first time you access your wallet, you are again handed a series of very useful tips:
Now you have a wallet and in this wallet you have an account. But you can create more accounts for the same wallet, all with the same address, that is a 20 bytes hash. This account is identified by a public-private key pair. The public key is used to validate who requested an operation. The private key is used only by you, and whoever has access to it can initiate transactions from your wallet.
3. Connect your wallet to OpenSea
The next step is to connect your wallet to Opensea.io. This is one of the most popular NFT platforms.
Click on the User menu (upper right user icon).
You are prompted to connect to your wallet and you have a few options to choose from. Select MetaMask, the first option in the list.
A dialog opens where you are requested to type in your password:
Press the Unlock button. You have now connected your wallet to the OpenSea platform.
Now you can edit your profile, edit existing NFTs or create a new NFT.
4. Edit your OpenSea profile
To edit your profile, click on the Settings icon from your account:
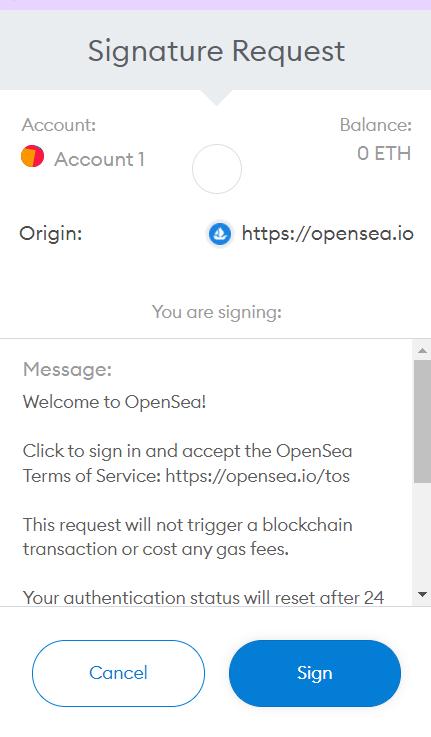
You will be asked to sign this operation:
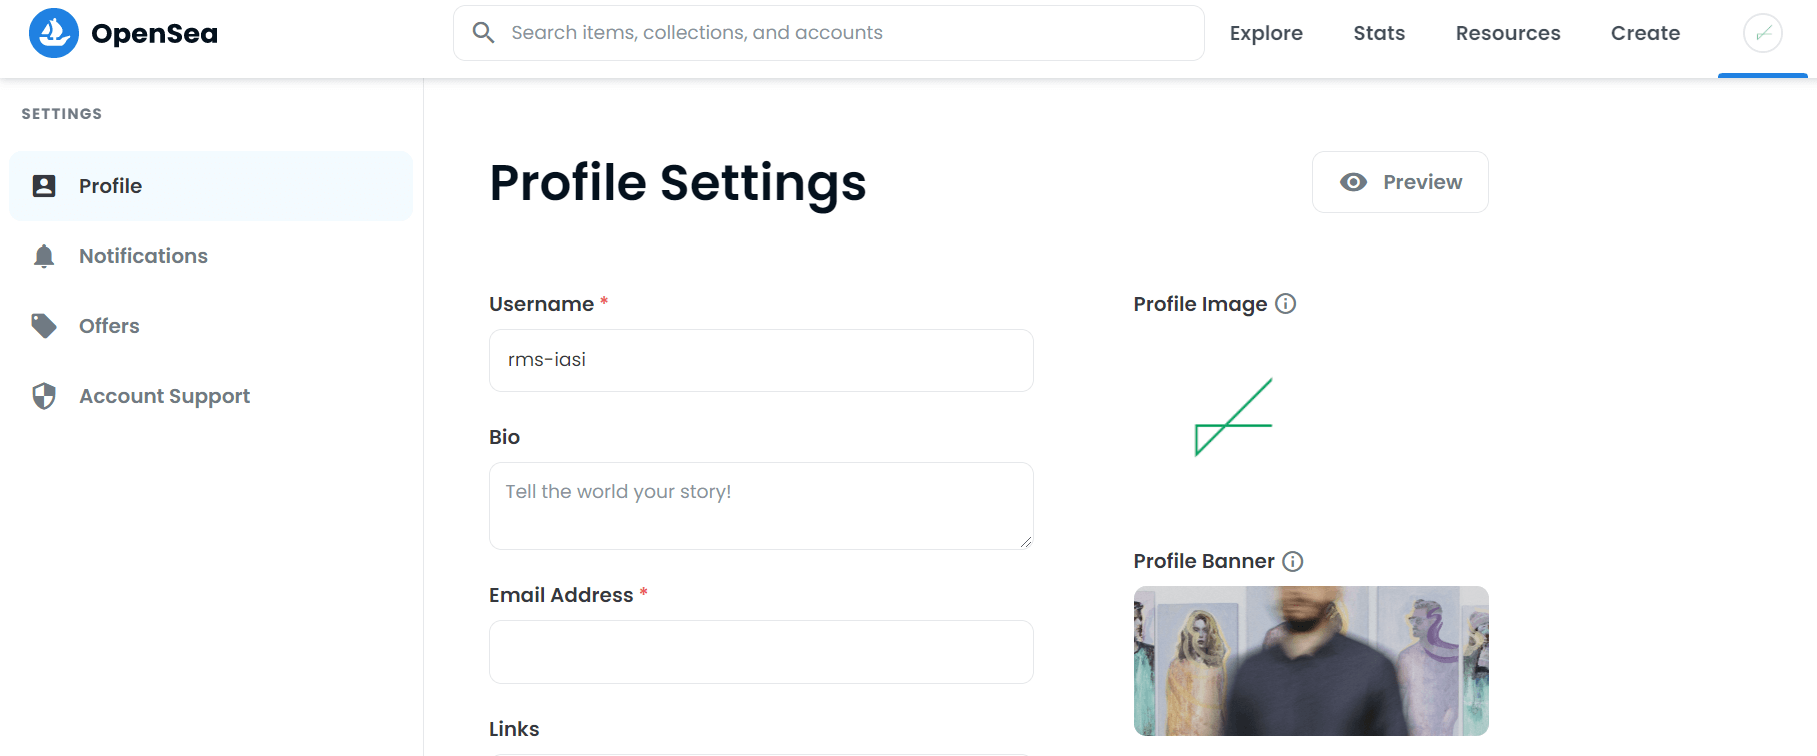
Now you can set up your profile information.
5. Create/edit your NFT collections
From the User menu select My Collections.
Here you have the possibility to edit existing collections or create new collections.
To edit an existing collection, just right click on it and press Edit. Inside a collection you can set a number of characteristics that will influence all items that you store inside it.
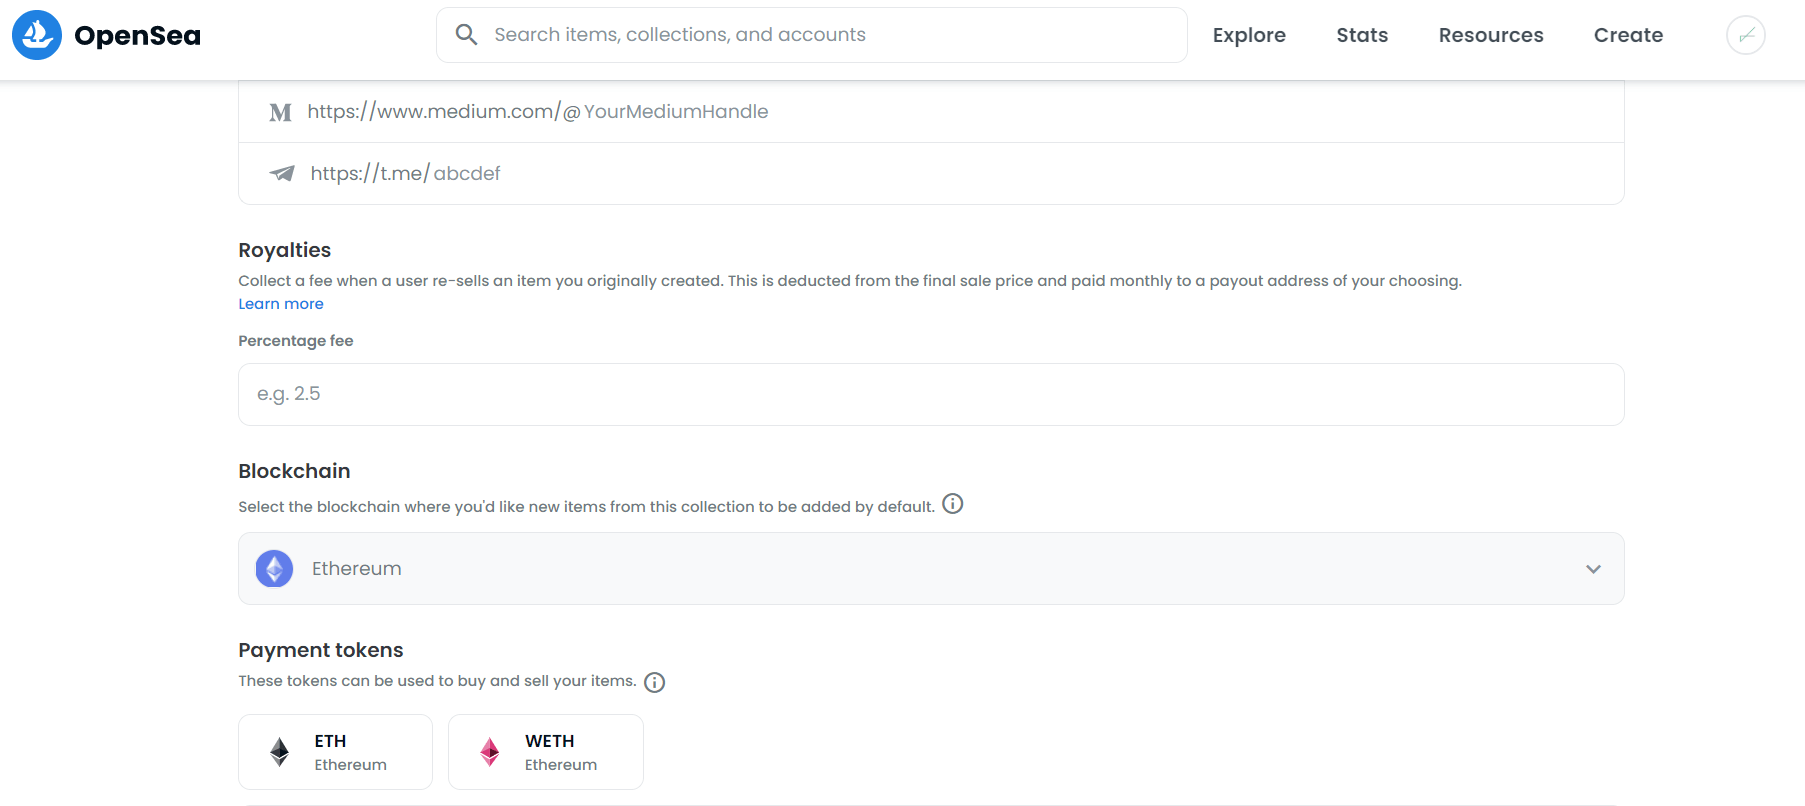
You can add a name, a logo, a description and many other details.
6. Royalties
But this is where it gets interesting: you can set a percent of the amount the NFT is traded for, that will be directed towards you, as royalties, every time the NFT is sold.
This is a great aspect of selling your art as NFTs. You truly have ownership of your items and every transaction will be executed in accordance with the smart contract that your NFT is based on.
7. Edit an existing NFT
To modify an existing NFT, just click on the item and press Edit.
If you click an NFT you have a Details field that allows you to see more info about the token: the smart contract address, Token ID (that is unique), and info about the token’s blockchain distribution.
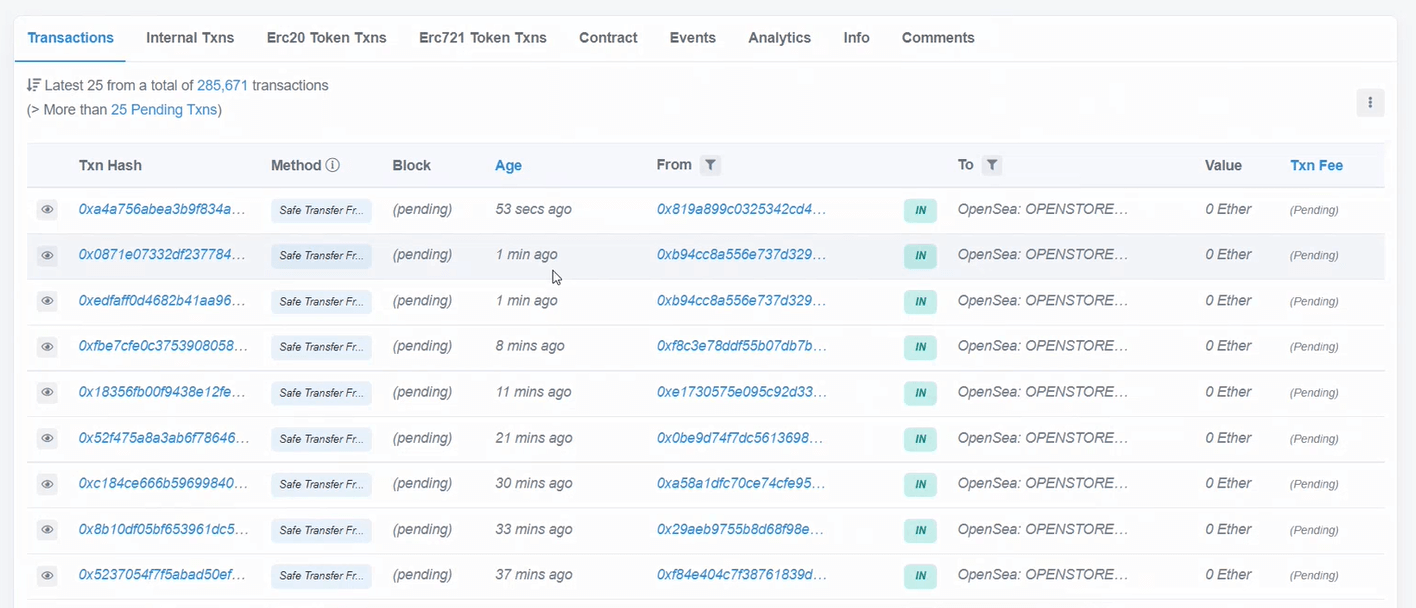
If you click on the smart contract address, you will be taken to Etherscan.io, where you can see when the contract was registered, and all the transactions that are made using the respective smart contract, in real time.
A next step would be to register the token in your wallet. But this would infer a cost in ETH.
8. Create new NFT
To create a new NFT, just press Create/Add item. You can simply drag and drop the file from your computer, whether it is an image, video, audio, or 3D model.
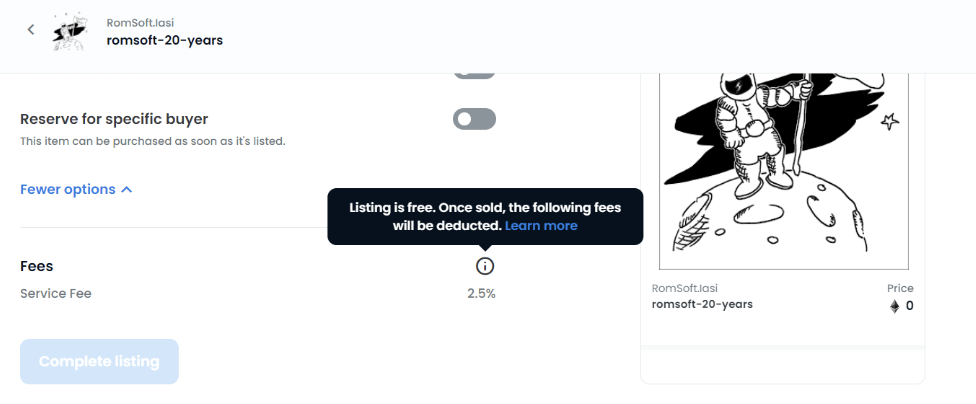
Now, we don’t aim to sell our 20 years anniversary NFT, but you can list your own NFTs out for sale. Listing is also free, but you are informed that once an item is sold, a 2.5% fee will be automatically deducted.
And that was all. A special thanks to my colleague Bogdan for his valuable help in documenting the entire process. I hope you found this tutorial useful. If you have questions about how to create NFTs or other interesting insights, please drop me a line below, in the comments section.
